
Paysite Cash
Ontdek hoe je Paysite Cash integreert met Post Affiliate Pro voor veilige, betrouwbare betalingsverwerking en krachtige affiliate tracking, op maat gemaakt voor...
6 min lezen
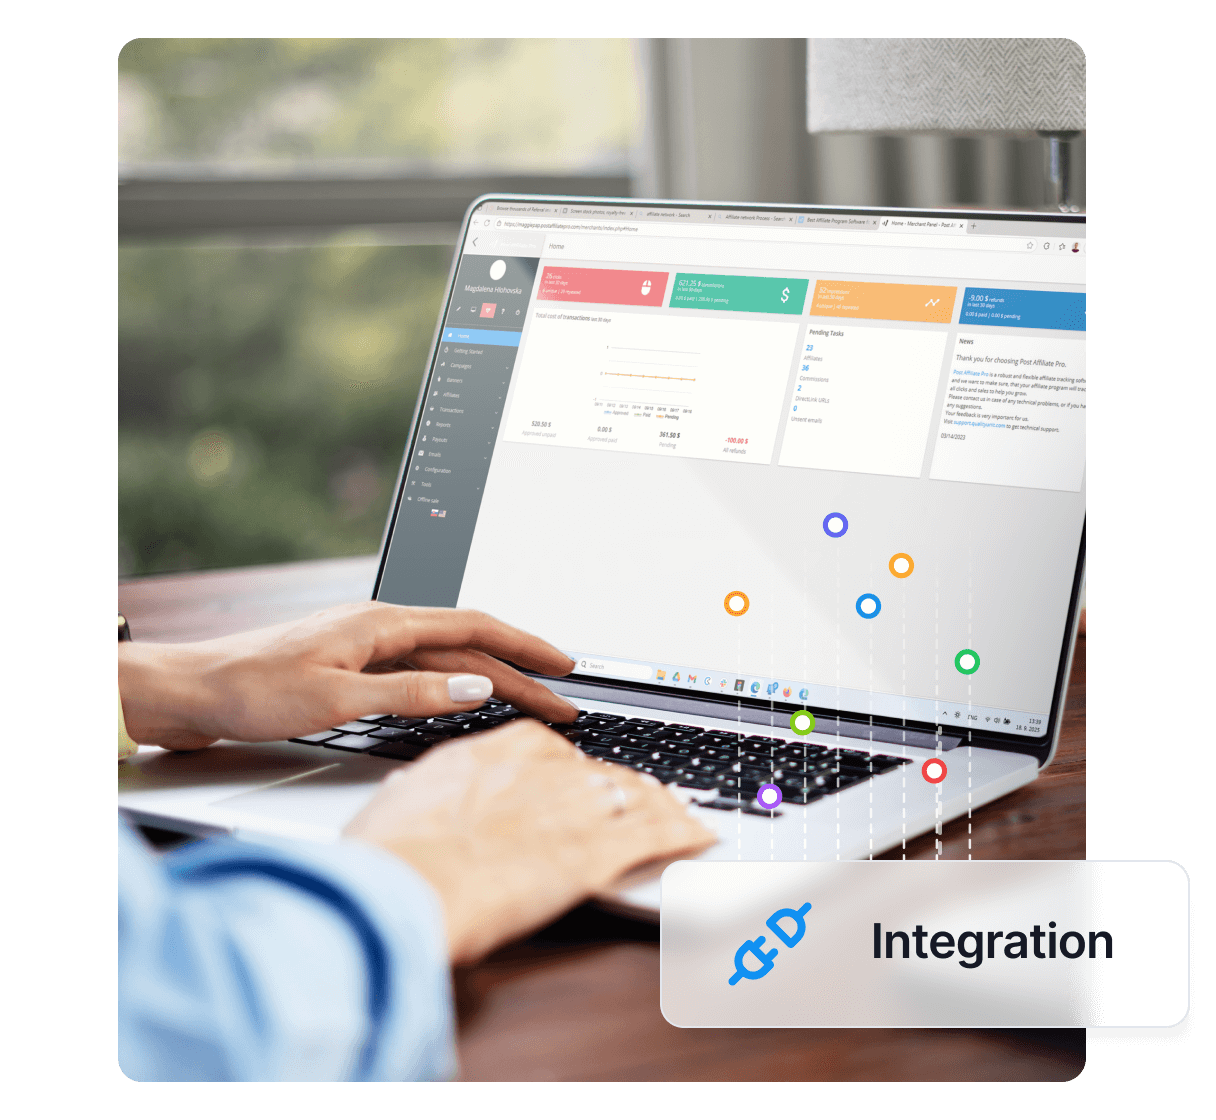
Integration
Payments
+3

Wil je je affiliate software nog verder verbeteren? Bekijk de RoboKassa-integratie voor Post Affiliate Pro.
Wees de eerste die op de hoogte is van nieuwe functies en productupdates.
Een elektronisch betalingsbedrijf opgericht voor snelle en eenvoudige betalingen voor diensten.
Nu kun je het RoboKassa-betaalformulier aan je pagina toevoegen.
Pas de instellingen van het RoboKassa PayForm in de onderstaande CODE aan.
Voeg deze code toe aan je website (DEMO1):
<?php

function print_kassa() {

// registratiegegevens (login, wachtwoord #1)
$mrh_login = "demo";
$mrh_pass1 = "Morbid11";

// bestelnummer
$inv_id = 0;

// omschrijving bestelling
$inv_desc = "ROBOKASSA Advanced User Guide";

// bedrag van bestelling
$out_summ = "8.96";

// artikelcode
$shp_item = 1;

// standaard e-valuta voor betaling
$in_curr = "PCR";

// taal
$culture = "en";

// codering
$encoding = "utf-8";

require_once 'PapApi.class.php';

// start sessie voor PAP
$session = new Gpf_Api_Session("URL_TO_PostAffiliatePro/scripts/server.php");

// klik registreren
$clickTracker = new Pap_Api_ClickTracker($session);
try {
    $clickTracker->track();
    $clickTracker->saveCookies();
} catch (Exception $e) {
}
$clickTracker->save3rdPartyCookiesOnly();

$visitorId = $clickTracker->getVisitorId();

// handtekening genereren
$crc = md5("$mrh_login:$out_summ:$inv_id:$mrh_pass1:Shp_item=$shp_item:shp_papCookie=$visitorId");

?>

<table cellspacing="1" cellpadding="5" align="center" style="border: 1px solid black;">
	<colgroup>
		<col style="text-align: center; background-color: White;">
		<col style="text-align: center; background-color: White;">
	</colgroup>
	<tbody>
		<tr>
		<td rowspan="3"><img alt="RoboKassa"src="http://www.roboxchange.com/Images/Qiwi.gif"></td>
		<td>
		<form id="fq0" name="fq0" action="https://merchant.roboxchange.com/Index.aspx" method="post" style="margin: 0px;">
			<table>
				<colgroup><col style="text-align: left; background-color: White; width: 100px;"><col style="text-align: center; background-color: White; width: 99%;"><col style="text-align: right; background-color: White; width: 10px;">
				</colgroup>
				<tbody><tr><td>
					<input name="MrchLogin" value="<?php echo $mrh_login; ?>" type="hidden">
					<input name="InvId" value="<?php echo $inv_id; ?>" type="hidden">
					<input name="Desc" value="<?php echo $inv_desc; ?>" type="hidden">
					<input name="Culture" value="<?php echo $culture; ?>" type="hidden">
					<input name="SignatureValue" value="<?php echo $crc;?>" type="hidden">
					<input name="EMail" value="" type="hidden">
					<input name="OutSum" value="<?php echo $out_summ; ?>" type="hidden">
					<input name="Shp_item" value="<? echo $shp_item; ?>" type="hidden">
					<input name="in" readonly="readonly" size="7" value="<?php echo $out_summ ;?>">
					<input name="shp_papCookie" value="<?php echo $visitorId;?>" type="hidden" id="pap_g93jq7x6">
					<input name="IncCurrLabel" value="QiwiR" type="hidden">

				</td><td>
				<span style="font-weight: bold;">QIWI</span></td><td><input value="Pay" type="submit">
				</td></tr></tbody>
			</table>
		</form></td></tr><tr><td><img alt="RoboKassa"src="http://www.roboxchange.com/Images/Robokassa115x15.gif"></td></tr><tr><td>
		<form id="f0" name="f0" action="https://merchant.roboxchange.com/Index.aspx" method="post" style="margin: 0px;">
			<table>
				<colgroup><col style="text-align: left; background-color: White; width: 100px;"><col style="text-align: center; background-color: White; width: 99%;"><col style="text-align: right; background-color: White; width: 10px;"></colgroup>
				<tbody><tr><td id="sIncSum0">
					<input name="MrchLogin" value="<?php echo $mrh_login; ?>" type="hidden">
					<input name="InvId" value="<?php echo $inv_id; ?>" type="hidden">
					<input name="Desc" value="<?php echo $inv_desc; ?>" type="hidden">
					<input name="Culture" value="<?php echo $culture; ?>" type="hidden">
					<input name="SignatureValue" value="<?php echo $crc;?>" type="hidden">
					<input name="EMail" value="" type="hidden">
					<input name="OutSum" value="<?php echo $out_summ;?>" type="hidden">
					<input name="Shp_item" value="<? echo $shp_item; ?>"" type="hidden">
					<input name="shp_papCookie" value="<?php echo $visitorId;?>" type="hidden" id="pap_g93jq7x6">
					<input id="in" name="in" readonly="readonly" size="7" value="">
				</td><td id="sIncCurr0"><select id="IncCurrLabel" name="IncCurrLabel" onchange="curr_chf0()"><option value="">Andere betaalmethoden</option><optgroup label="Elektronische valuta"><option value="PCR">Yandex.Money</option><option value="WMR">WMR</option><option value="WMZ">WMZ</option><option value="WME">WME</option><option value="WMU">WMU</option><option value="WMY">WMY</option><option value="WMB">WMB</option><option value="MoneyMailR">RUR MoneyMail</option><option value="RuPayR">RUR RBK Money</option><option value="W1R">RUR W1</option><option value="EasyPayB">EasyPay</option><option value="LiqPayZ">USD LiqPay</option><option value="WebCredsR">RUR WebCreds</option></optgroup><optgroup label="Andere betaalmethoden"><option value="ElecsnetR">Via Elecsnet-terminals</option><option value="IFreeR">Via SMS</option><option value="ContactR">Via CONTACT-systeem</option><option value="PayPalZ">Via PayPal</option><option value="BANKR">Met bankkaart</option><option value="OceanBankR">Met bankkaart via Platezh.ru</option><option value="MPBeelineR">Beeline mobiele betalingen</option></optgroup></select></td><td id="sSubmit0"><input id="BSubmit" value="Pay" type="submit"></td></tr></tbody>
			</table>
		</form>
	</td></tr>
	</tbody>

</table>
<?php
}

print_kassa();
?>
Let op dat je het actuele PapApi-bestand in de map moet hebben waarin het betaalformulier zich bevindt. Je kunt dit downloaden via je Merchant panel > Start > Tools > Integratie > API-integratie > Download PAP .
Nu kun je het RoboKassa-betaalformulier (DEMO2) aan je pagina toevoegen.
Pas de instellingen van het RoboKassa PayForm in de onderstaande CODE aan.
Voeg deze code toe aan je website:
<?php

// registratiegegevens (login, wachtwoord #1)
$mrh_login = "demo";
$mrh_pass1 = "Morbid11";

// bestelnummer
$inv_id = 0;

// omschrijving bestelling
$inv_desc = "ROBOKASSA Advanced User Guide";

// bedrag van bestelling
$out_summ = "8.96";

// artikelcode
$shp_item = "2";

// standaard e-valuta voor betaling
$in_curr = "PCR";

// taal
$culture = "en";

require_once 'PapApi.class.php';

// start sessie voor PAP
$session = new Gpf_Api_Session("URL_TO_PostAffiliatePro/scripts/server.php");

// klik registreren
$clickTracker = new Pap_Api_ClickTracker($session);
try {
    $clickTracker->track();
    $clickTracker->saveCookies();
} catch (Exception $e) {
}
$clickTracker->save3rdPartyCookiesOnly();

$visitorId = $clickTracker->getVisitorId();

// handtekening genereren
$crc = md5("$mrh_login:$out_summ:$inv_id:$mrh_pass1:Shp_item=$shp_item:shp_papCookie=$visitorId");

// betaalformulier
print
	"<form action='https://merchant.roboxchange.com/Index.aspx' method=POST>".
		"<input type=hidden name=MrchLogin value=$mrh_login>".
		"<input type=hidden name=OutSum value=$out_summ>".
		"<input type=hidden name=InvId value=$inv_id>".
		"<input type=hidden name=Desc value='$inv_desc'>".
		"<input type=hidden name=SignatureValue value=$crc>".
		"<input type=hidden name=Shp_item value='$shp_item'>".
		"<input type=hidden name=IncCurrLabel value=$in_curr>".
		"<input type=hidden name=Culture value=$culture>".
		"<input type=hidden name=shp_papCookie value=\"$visitorId\" id=\"pap_g93jq7x6\">".
		"<input type=submit value='Pay'>".
	"</form>";

?>
Let op dat je het actuele PapApi-bestand in de map moet hebben waarin het betaalformulier zich bevindt. Je kunt dit downloaden via je Merchant panel > Start > Tools > Integratie > API-integratie > Download PAP
Als je notificatie-e-mails wilt sturen naar de merchant of affiliates, vergeet dan niet dit in te stellen bij Configuraties > E-mailnotificaties > Bij nieuwe verkoop .
In de snel evoluerende wereld van e-commerce hebben bedrijven robuuste en veilige betalingsoplossingen nodig om concurrerend te blijven. RoboKassa komt naar voren als een toonaangevende Russische online betalingsgateway, die naadloze transacties mogelijk maakt tussen verkopers en klanten. Het bedient een divers scala aan bedrijven, van opkomende webwinkels tot gevestigde dienstverleners, en stelt hen in staat betalingen te accepteren via verschillende kanalen, waaronder bankkaarten, e-wallets en mobiele handelsdiensten.
Sinds de oprichting heeft RoboKassa zich gepositioneerd als een essentiële schakel in de digitale economie van Rusland. Aanvankelijk leidend op de binnenlandse markt, onderkende het de groeiende behoefte aan een geavanceerde e-commerce betalingsinfrastructuur. In de loop der tijd heeft RoboKassa zijn mogelijkheden uitgebreid, zodat transacties veilig en in overeenstemming met de regelgeving verlopen, en voorziet het in de uiteenlopende behoeften van moderne bedrijven.
RoboKassa richt zich met name op kleine en middelgrote ondernemingen (MKB) en online retailers die zoeken naar een gebruiksvriendelijk en veilig betaalsysteem. Door flexibiliteit te bieden in het afhandelen van verschillende betaalmethoden, profiteren niet alleen bedrijven, maar wordt ook de gebruikerservaring verbeterd door het verlagen van het aantal verlaten winkelwagentjes. Bovendien opent de ondersteuning voor internationale transacties de deur voor bedrijven die willen uitbreiden buiten de Russische markt.
RoboKassa hanteert een transactiekostenmodel, in lijn met de industrienormen voor betalingsverwerking. Voor bedrijven die geïnteresseerd zijn in maatwerkprijzen die aansluiten bij hun specifieke transactievolumes en behoeften, is het raadzaam om direct contact op te nemen met RoboKassa. Deze persoonlijke benadering zorgt ervoor dat bedrijven de meest kosteneffectieve oplossing ontvangen.
Voordelen:
Nadelen:
Over het algemeen prijzen gebruikers RoboKassa voor zijn betrouwbaarheid en uitstekende klantenservice , waarbij wordt opgemerkt dat het effectief aan de eisen van het moderne e-commerce landschap voldoet.
Voor bedrijven die naar andere opties zoeken, bieden verschillende alternatieven uiteenlopende functies:
Lucia is een getalenteerde content editor die zorgt voor een vlekkeloze publicatie van content op meerdere platforms.

Ervaar naadloze betalingsintegratie met RoboKassa en ontgrendel krachtige affiliate management tools. Probeer Post Affiliate Pro gratis voor 1 maand.
Ontdek hoe je Paysite Cash integreert met Post Affiliate Pro voor veilige, betrouwbare betalingsverwerking en krachtige affiliate tracking, op maat gemaakt voor...

Wilt u uw affiliate software verder verbeteren? Bekijk de PayPro-integratie voor Post Affiliate Pro.

Wilt u uw affiliate software verder verbeteren? Bekijk de PaySimple-integratie voor Post Affiliate Pro. Koppel PaySimple naadloos voor betalingsverwerking, auto...
Sluit u aan bij onze gemeenschap van tevreden klanten en bied uitstekende klantenservice met Post Affiliate Pro.